
Hi Folks,
Compositing Session in Photoshop by Dawn Cave, Tuesday 16th November
Dawn opened the evening explaining that she is no expert in the workings of Photoshop but loves Art and Compositing which is a form of Photographic Art which gives her much enjoyment.
Dawn also loves natural photography but compositing photography is creative and allows one to change photographs when conditions like the weather or cloning is not easy to achieve.
We were firstly shown a photograph with a grand building on the left of the picture which had an unwanted sign on the right in amongst some poor shrubbery which was spoiling the picture. Then Dawn produced the same picture with the sign replaced by a tree and the shrubbery changed.
I think Aussie Alan first touched on the compositing last year but Dawn has now taken the subject to another level with her use of it.
Dawn showed us some of her earlier compositing work and explained that you have to think about the photograph being used and the angles required to make the subject as natural as possible. E.g. if the subject of a girl is looking down, the background cannot appear to be taken from above and one may have to look for a background taken at the floor level to fit around the subject. One has to consider the lighting throughout and has to be natural with any shadows coming from the right direction from all subjects.
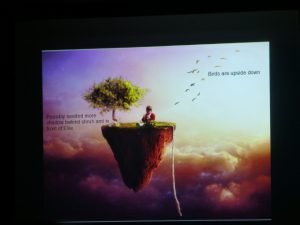
In this earlier photograph Dawn said the birds in flight are upside down and the shadow from the tree is not correct
There is a vast amount on Compositing information on the internet via YouTube, in Amazon books and downloading tutorials.
Also there are ready made ‘stack images’ to download from libraries of things like skies, landscapes etc but these can only be used in non competition photographs as all parts of the photograph must have been taken by the photographer. Also one has to watch out for copyright in ‘stack images’ when using them in business ventures.
There are also PNG file libraries where the subjects have transparent backgrounds to add to a photograph for effect.

Also libraries of various textures to add
plus free brushes which will paint things like snow or rain.
Dawn showed us a picture of her granddaughter who has been so helpful to Dawn and always making the perfect model.
Another picture had the granddaughter in a newly created background showing her sitting in a field of flowers.
Then Dawn showed us a photograph created with a bear and a boy sitting on a barrel.

The shadows are often done with brushes which are made darker near the object and get lighter further away but in this case had overlapped the bottom of the barrel and had to be dealt with in a separate procedure. All Photoshop procedures are kept for referral / change on the right hand side of the picture
As Dawn progressed she became more aware of what was possible and the pictures became more intricate

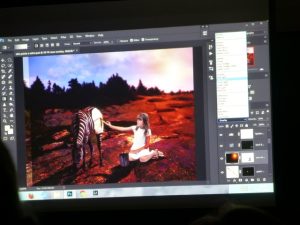
Here Dawn had created a scene of a girl painting the stripes on a zebra (or was it a zebra being painted white? but looking at the can of paint it was black so from that I have worked out it was stripes going on). However, Dawn was unhappy with the shadow created by the paint brush over the zebra lol
Soon it was coffee time.
In the second half Dawn gave us an insight into how she created the super LP cover
Which started off with some tree roots on a beach

The area of the sea had to be removed and the beach darken and the sky lightened
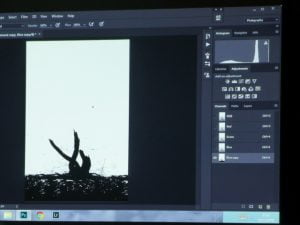
Various bits left on the horizon had to be cloned out

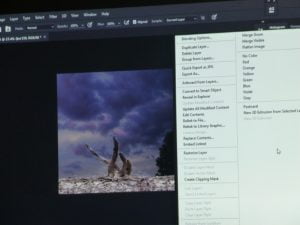
Then the whole bright sky was turned transparent ( Photoshop makes a little translucent grid but doesn’t show well on this pic which is too small).

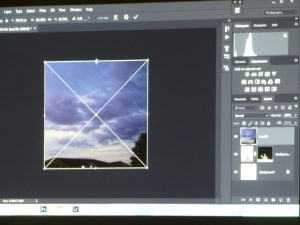
A new layer of clouds is selected from another photograph and added in.
And the first picture layer with the tree roots brought to the top.
Dawn then decided to clone out the tree on the right hand side making sure there wasn’t a pattern forming in the clouds via the cloning system. After which the photograph was lightened up.
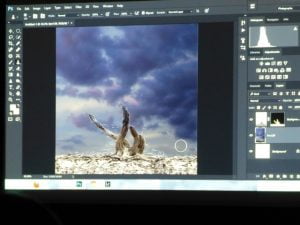
The beach and the roots had been protected via a protection selection process before the initial sky had been made translucent and the outsides of the branches just needed odd touches here and there with a brush to make them better looking

After which a violin was added to the photograph and angled behind the tree roots
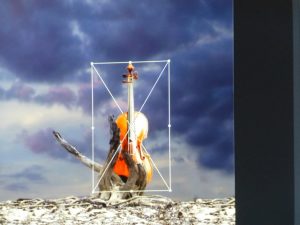
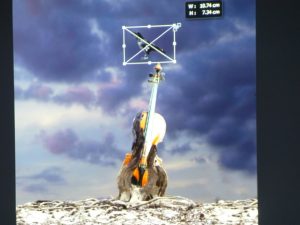
Once added Dawn then demonstrated the software was capable to even bend and warp the roots into different angles. It was decided the root on the left was not required and cloned out

We have crows which I believe were from the ‘stack images’ available

and the first was placed above the violin. Alan even pointed out that the crows feet could be bent around the violin using the same method as bending the tree roots
However, Dawn decided this crow was facing in the wrong direction so it was flipped the other way.
Dawn then made a red circle to produce a ruby (a round red circle with white shine to it) and then placed it in the crows beak

Two more crows were added and the last one had it’s wings blurred and body sharpened for a bird in flight effect

Then a photograph of a moon was found with a dramatic sky
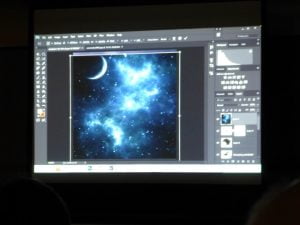
To create the final picture

I think most of us were in awe of all the knobs, levers, slides and options available in the software to do all of this. Photoshop can be rented at just over £8 a month. However, I have just been looking at a package called On1 this last week or two that one can buy out right for around £100 which does quite a bit of this work but I understand the updates stop coming at their next version out and you have to buy an updated version to keep up with the new technology but worth a look on YouTube.
Thank you to Dawn for all the effort she put into the evening for us all.
Next week is
Practical – Shooting the Dark
Tuesday November 22, 2016 from 20:15 to 22:15
After the tutorial session, members will be paired up randomly and asked to end up with two good images which will be shared at our Christmas Social on 13th December.