
Hi Folks,
Last night the club had three different events going on.
In the room at the back Dave Cullimore was giving the second part of the beginners course on lighting. I know the members attending were asked to bring along four pictures of an egg. I understand to show the various effects the lighting has on different shots moving around a table.
In the main hall Chenxi Ni gave us a talk and demonstration on how to cut our own mounts for prints and if this proves popular with the club membership the club would purchase a cutter for all to use.

Chenxi talked of his first experience of entering a print competition at the club where he only had a very basic print and a poor mount which has developed into him printing and making his own print mounts.
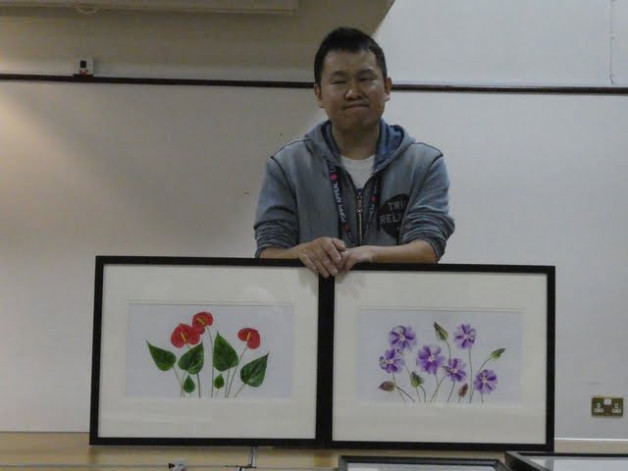
Chenxi said, at home he initially was only allowed to have his photographs hung in the bedroom. However, the title picture of two prints used on this heading was Chenxi’s proudest moment as they were the first two images to be allowed to hang in the dining room.
I know the feeling, as a print of the biggest fish I have ever caught is not allowed even in the hall lol
Chenxi gave us reasons why we should all produce prints saying favourite images just get lost and forgotten in the computers.
Chenxi explained the number of different coloured mounts that there are available and about thirty different shades of white. Would there also be fifty shades of grey lol
It is important to pick the colour that suits the print.
Chenxi found that black suited this print with the white line acting as a key line.

Also the print can be positioned anywhere in the mount but generally it is best to have the larger portion of the mount showing at the bottom.

In this mounted print Chenxi was unhappy with it being in a white frame and thought black would suit it better. So for this evenings demonstration Chenix was going to remount it in black. Chenxi always uses white as the backing to any print.

Measurements are worked out first
Here the mount size is the standard 500mm x 400mm
The print being remounted is 380mm x 254mm
so
horizonally 500m – 380mm leaves 120mm gap for the left and right side of the mount.
So the sides will be 120mm / 2 or 60mm each side.
However Chenxi adds 3mm to each edge for it to properly cover the print.

The machine is adjusted to those measurements

And the vertical lines are pencilled in on the back of the black card which is coloured white.

This is repeated for the horizontal measurements which may differ.
Once the measurements have been drawn on the picture the print is placed over it just to check that it is right before any cutting is done.

If right
then the cutter it placed over a backing board and will cut through the mount at 45 degrees to make the frame. The edge tool is adjusted for each line measurement and whilst cutting the metal frame guide is held down tightly as it can move not having pressure being applied.

Once cut,
the back and front of the mount are taped together.
Again, have something heavy to hold one piece down whilst taping said Chenxi.
Chenxi often uses the club trophy he won as it’s nice and heavy lol.


The print is lined up straight within the mount

Then four small tags are added to the corners of the print and then tape is put across the tags rather than on the print.

The finished product.

Then Chenxi gave us a demonstration of how to make a double border for a print. The mount already marked out for cutting in the same way as before.


the measurements on the inner mount are adjusted so as to overlap the original mounts edges

Then two sided tape is used to stick the two pieces together

The inside shows the drawn pencil frames and are not seen from the outside.

Thank you to Chenxi for his time in showing us all how it was done

Coffee Time
In the second half of the evening Alan Taberer one of our club’s three judges gave a talk on what the role of a judge is and what they will be looking for in a competition.
Alan said he has been on the judges course but is not an expert on everything. He knows a little bit about Photoshop but would not know as much as Brian on the software.
The role of a judge is to be appreciative of what the author has presented as they would have tried hard to please.
Judges are there to adjudicate and be fair and not be biased towards subject matter they like.
Also needing the skills to entertain as there is nothing worse than people dropping to sleep from boredom.
Another role is to educate people on their images presented by trying to explain the pros and cons of a picture.
Finally he has to set standards for himself like not being late for judging.

Alan has learnt the knowledge below and will be looking at whether an image fits the criteria

Also being a judge he needs the skills below

He will comment on whether the image has these qualities,
does it have a wow factor,
does it tell a story,
does it give a mood
and will it remain in ones mind after the competition.

he will check the image has the following done correctly. I believe Julia has about 76 of these thoughts running through her mind whilst judging.

Although Alan said he has about 5 main ones

These are some of the rules and skills Alan has found and adopted being a judge and if you think you could be interested, please see him and he will gladly help.

Finally Alan put up four of his past images and asked us to choose which we thought best.


The exercise was to show how opinions differ as the audience was totally split.
Next week is a
Practical Night – Shooting with Water
Tuesday October 16, 2018 from 20:15 to 22:15
Our first practical session of the season (i.e. you need to bring along your cameras if you want to make the most of it!). We’ll be capturing water in a variety of setups. We’ll need you to bring some “accessories” and your imagination. We’ll probably need a few towels to mop up too. More details to follow nearer the time.